
It’s funny how a kitchen can feel outdated even when everything still works. The cabinets close fine, the counters aren’t broken, but still, something feels off. Maybe the color looks dull. Maybe the lights are too yellow. Maybe you’ve just stared at the same drawer handles for the past ten years, and they’re starting to get on your nerves.
Here’s the truth: You don’t need a full renovation to feel like you’re walking into a new space. A few simple updates can change the way your kitchen feels—without ripping anything out or spending thousands. So let’s look at five fixes that can give your kitchen a lift, without turning your house upside down.
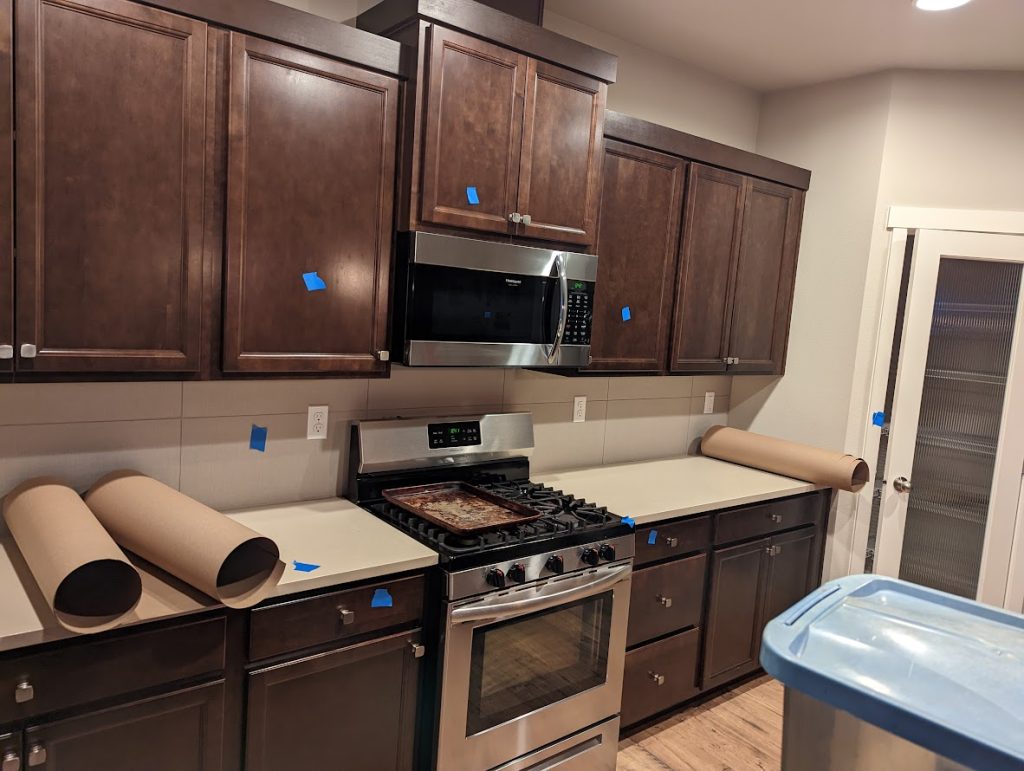
1. Change the Hardware—Yes, Just That
This one’s fast. You could probably do it in an hour. But it makes a difference right away.
Handles and knobs are like little pieces of jewelry on your cabinets. They get overlooked, but when they’re old or scratched or just not your style anymore, they drag the whole room down with them.
Before you buy new screws, measure the distance between the holes. Trust me, that’ll save you from drilling new holes or returning stuff. Most handles come in standard sizes—like 96 or 128 mm between holes. If you want to switch from knobs to handles or vice versa, that’s fine. Just know you’ll probably be patching old holes.
Finishes matter. Brushed nickel is clean and safe. Matte black is bold and modern. Brass can warm up the space, especially if you’ve got wood tones going on. You can even mix them—black on the lower drawers, brass up top—if you’re feeling adventurous.
Oh, and those soft-close hinges? Worth it. Not expensive either.
2. Paint Your Cabinets (Yes, You Can Do It)
People get scared of painting cabinets. It feels like a big deal. And it kind of is, but it’s not impossible—and the results are massive. If your cabinets are still in decent shape but just look tired, this is the move.
First, you gotta clean them. Not just soap and water. Get a degreaser. Years of cooking leave a film you don’t even notice, and paint won’t stick to that. After that, sand them lightly. You’re not trying to strip them—just rough them up so the primer can grab.
Use a bonding primer, especially if you’ve got slick, factory-finished cabinets. Then use a durable enamel paint. Water-based enamel is easier to work with and doesn’t stink up the house. Two thin coats are better than one thick one.
Keep in mind, it’ll feel dry after a few hours, but it takes days to fully cure. Don’t slam doors or stack plates for a bit. And don’t skip labeling the doors when you take them off. Seriously. You’ll thank yourself later.
3. Fix the Lighting—Stop Working in the Dark
Most people don’t realize how bad their kitchen lighting is until they fix it. If you’ve only got one overhead fixture, you’ve probably got shadows in all the wrong places.
You want layers of light. Overhead for general stuff. Under-cabinet for chopping and cooking. Maybe some softer lights should be placed above the sink or around the backsplash for mood.
Under-cabinet LED strips are easy now. A lot of them are plug-in with adhesive backs. You don’t need to be an electrician to stick them in. Go for warm white (3000 to 3500K). Anything cooler looks like a hospital. Check for a high CRI rating too—above 90 is ideal. That way, your food doesn’t look weird under the lights.
Even just replacing old bulbs with brighter LEDs makes a difference. Try it tonight and see what happens.
4. Peel-and-Stick Backsplash—Way Better Than You’d Think
Let’s be honest, traditional backsplash tile is a project. You need tools, time, grout, and probably help. Peel-and-stick options? They’ve come a long way. No grout, no mess, and they can still look sharp.
Clean your walls first. Like, really clean them. Use alcohol after the degreaser to get it squeaky. That’s the only way the adhesive will actually hold.
Start in the middle of the wall and work your way out so the cuts are on the edges. If you’re using subway tile style, offset each row so it looks natural. Cut carefully. A sharp blade helps. Some of these tiles have real metal or stone on them, so don’t just snap them like vinyl.
Don’t put them behind a stove unless they’re heat-rated. That’s asking for melted glue. Stainless steel panels work better there.
Seal the bottom edge with clear silicone to stop moisture from getting behind the wall. Simple.
5. Countertop Refresh Without Ripping Them Out
Laminate overlays are cheap and get the job done. There are kits now that make laminate look like granite or marble. Not perfect, but from a distance? Pretty solid.
Butcher block is also worth a look. It brings in warmth and ages nicely if you treat it right. You’ll need to oil it every month or two, but it’s easy. Sand and re-oil if it gets worn.
Epoxy kits are for the brave, but they can look amazing. You pour the resin, mix the colors, and swirl them into stone-like patterns. It’s messy but fun. Just follow the ratios exactly, or it won’t cure right.
Whatever you choose, check for level. Use brackets under big overhangs. And don’t forget to caulk around the sink to keep water out.
Conclusion
You don’t need a wrecking crew to breathe life into your kitchen. New handles, a bit of paint, better lighting, a sharp-looking backsplash, or some counter updates can do more than you’d expect. None of these fixes costs a fortune, and most of them don’t take more than a weekend.
But if you want help taking things further—or you’re just done with the DIY route—Scott’s Construction offers kitchen remodeling services that take the stress out of the process. They’ll make sure it feels like home again, whether it’s just a few changes or a whole new look.